


Bluetooth interface
Introduction
Most of the new laptops have built-in Bluetooth radio. The olders can be easily upgraded with USB port Bluetooth modules. With Bluetooth connection we can control our telescope mount without cable.
We offer you the Ursa Minor Bluetooth Interface to control your telescope mount:


This Bluetooth interface can be ordered with different connectors to different telescope mounts:
- Merlin, Autotrack, Supatrak, Autotrack dobson
- Skywatcher NEQ3, NEQ5, HEQ5
- Skywatcher EQ6
The Bluetooth Interface has two versions:
- Version 1.0: Providing remote telescope operation.
- Version 2.0: Same as the first but providing DSLR camera exposure control additonaly.

These Bluetooth modules can be connected directly to the mount not to the hand controller. Connect them to the hand controller socket of the mount. The operation with the Ursa Minor Planetarium program is similar as the connection made by wire.
On the module, there is a reset button and a status led. The led can indicate the following states of the connection:
- Dark
- The module is not powered. Please check the power connections of the mount!
- Fast blinking (2Hz)
- The module is not paired to any computer. In this case it doesn't accept connections, but it is ready to be discovered by a computer.
- Slow blinking (1Hz)
- The module is paired with a computer. It is ready to accept connections. If you press the reset button, the module will forget the pairing, and comes back to unpaired state (fast blinking).
- Continuous lighting
- Connection established with a computer. It indicates that a program (typically the Ursa Minor Skytour or Pro) built the connection to control the telescope.
Second version of the Bluetooth interface has two additional LEDs to indicate focus and exposition control of DSLR camera.
Configuring the Bluetooth interface (Old method with Toshiba software)
Before the first usage you should perform these steps:
- Plug the module into handcontroller socket of the mount, and plug the 12V power cable into mount's power input connector. The led on the Bluetooth module will flash at 2Hz. It means, that the module is not paired with the computer. If the led flashes slowly, please push the reset button.
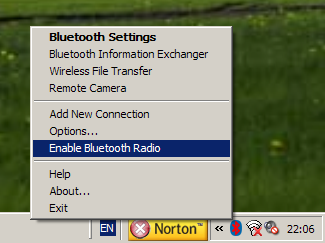
- enable Bluetooth services on the computer. This can be done by choose "Enable Bluetooth radio" item from the menu
as shown:
- Choose "Add new connection" to make connection with the new device. Really it wont't make a connection, just discover and register the Bluetooth interface and make the "pairing". Pairing means that the interface and the computer will exchange some parameters (device address, etc...) between them.
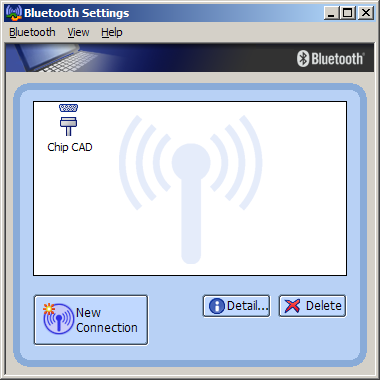
- The computer starts locating Bluetooth interfaces. The following window will appear showing the located devices:
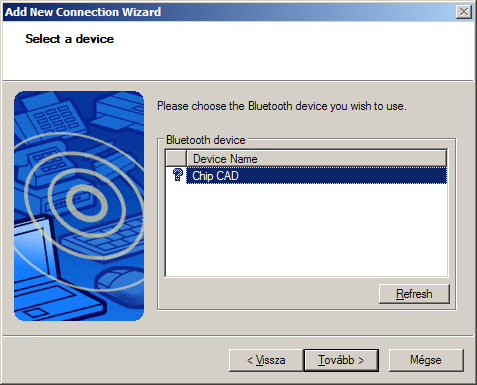
- Obviously the list can be different and depends on what kind of devices are in the range. From the list choose "Chip CAD" device. This name belongs to the Bluetooth telescope interface module.
- At the next step the computer will ask you to give a password. In this case it is "0000" (four zeroes).

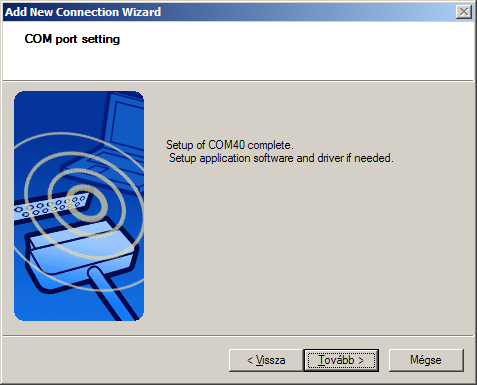
- The computer will register the device and assign a COM port number to it. It can be anything in COM1 - COM255
range, but typically it is around COM40. You should memorize it, because it is needed by Ursa Minor program later.
Now we have finished the registration (the pairing method), and the led on the front of the interface switched to slow blinking.
You should do this setup process only once. The connection with the Ursa Minor program is exactly the same as connecting with wires. The only difference is the COM port number.
Checking the COM port assignment (Old method with Toshiba software)
Windows makes the COM port assignment during the pairing method (as mentioned above). Sometimes you would like to re-check it, which COM port number belongs to the Bluetooth adapter. This can be easily done:
- Click by the right mouse button on the Bluetooth icon on the taskbar. Choose "Bluetooth Settings" from the popup
menu.
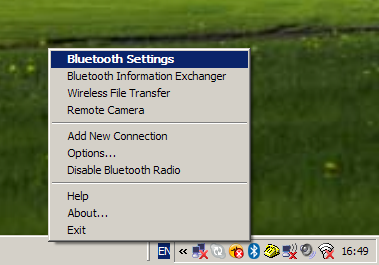
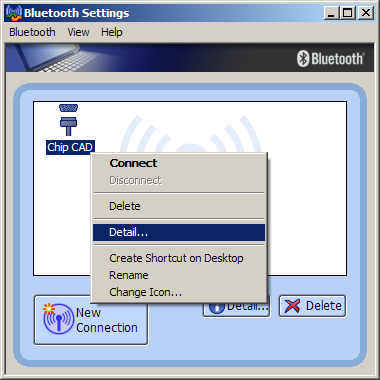
- A window will appear, showing registered bluetooth devices. Locate the "Chip CAD" device.
- Right click on "Chip CAD" and choose the "Detail..." option from menu.
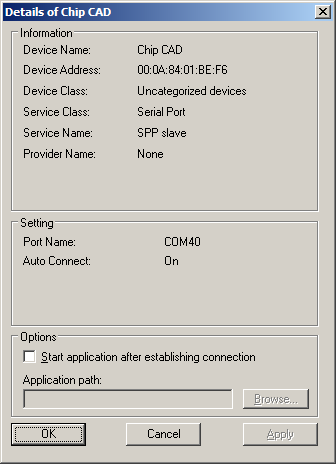
- In the dialog window, you can find the "port name" (In this example it is COM40).
Configuring the Bluetooth interface (On newer computers)
This chapter illustrates how can you set up the Bluetooth interfce. You should do this only once. Before start these steps please connect the Bluetooth interface to the telescope mount, switch on the power and press the button on the Bluetooth interface. the LED should flash fast. (2 Hz)
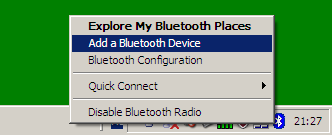
- Click by the right mouse button on the Bluetooth icon on the taskbar. Choose "Add a Bluetooth Device" from the
popup menu.
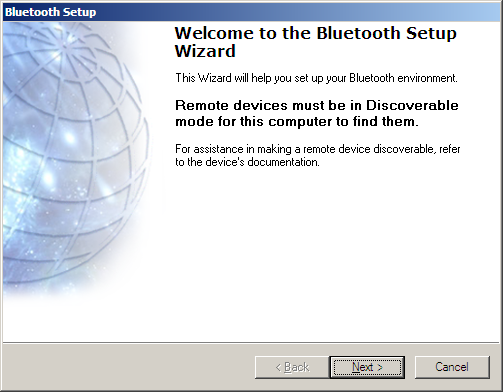
- Bluetooth setup wizard starts. Press the "Next" button.
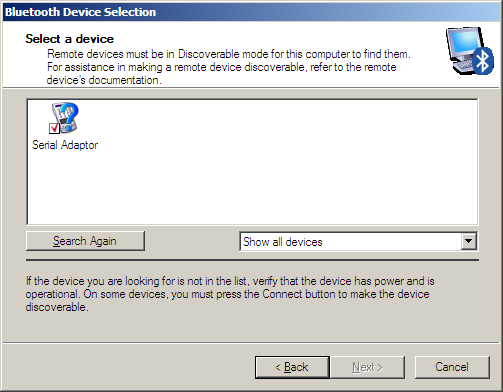
- The program starts to search available Bluetooth devices and lists them in the window as shown on the follwing
image. The "Serial Adapter" belongs to the Ursa Minor Bluetooth Interface. Choose this and press "Next".
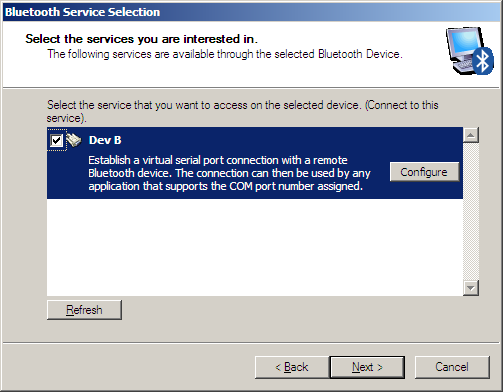
- Now the services provided by the device are listed in the next window. The Ursa Minor Bluetooth Interface
provides only one service. This is called "Dev B" and currently highlighted with blue background.

- Check the checkbox at the "Dev B" and press "Configure" button.
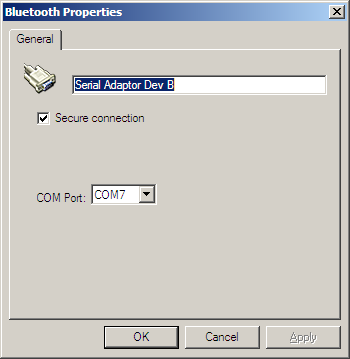
- The default settings are displayed in the window. We don't need to modify them, but we should memorize the COM
port number. In this case: COM7. Click the "Ok" button.
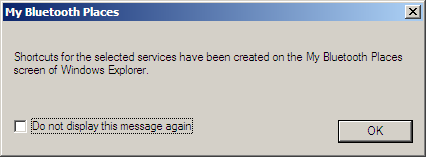
- The device is registered now, but not connected. The following message informs us, that the device's settings can
be accessible in "My Bluetooth Spaces" window. Before use the device, we need to connect it. The next capter
describes the method of connection.
Connecting to the Bluetooth device (On newer computers)
After the registration is done (described in previous chapter) you may have to do this before using the bluetooth Interface.
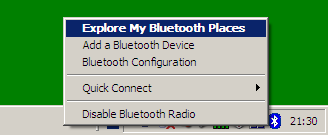
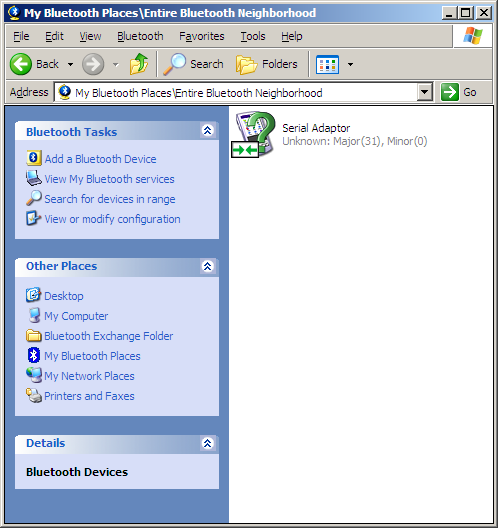
- Click by the right mouse button on the Bluetooth icon on the taskbar. Choose "Explore my Bluetooth Places" from
the popup menu.
- A window appears showing registered Bluetooth devices. In your case there may be other devices such as mobile
phones etc...

- Choose the "Serial Adapter" and click with the right mouse button on it. Coose the "Connect Dev B" from the popup
menu. Just a note: The "Dev B" represents the service provided by the Bluetooth interface. During the configuration,
at the step 5 we could see this.

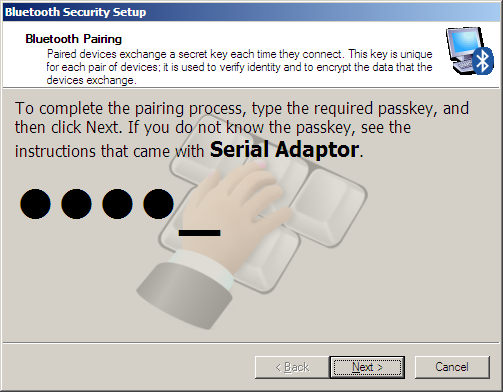
- Now the computer ask us to give the pin code. The code is for newer bluetooth interfaces is "1234". for old ones:
"0000". After typing the code, press "Next".
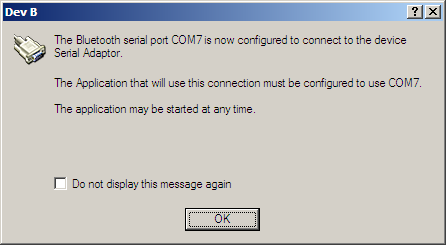
- The popup window informs us thet the connection is in progress. It won't be longer then few seconds.

- The connection is built up successfully. Please memorize the com port number.
- The green arrows signal just below the icon of the "Serial Adaptor" indicates the connection.
Now the connection is built, you can use the Telescope mount with Ursa Minor or Papywizard program.